Monday, November 24, 2014

MY DIY 3D Printer update

Here are a couple of tricks I have learned.  When I first started printing everything worked fine.  Then after making about 5 things they started coming loose.  To clean the glass use nail polish remover (Acetone) on a Kleenex.  Then apply 2 or 3 squirts of hairspray.  You may need to spread it around a little.  That surface preparation results in the best adherence of the printed parts.

I have made several upgrades to my 3D printer.  Like for instance an oversize fiberglass Y axis carriage.


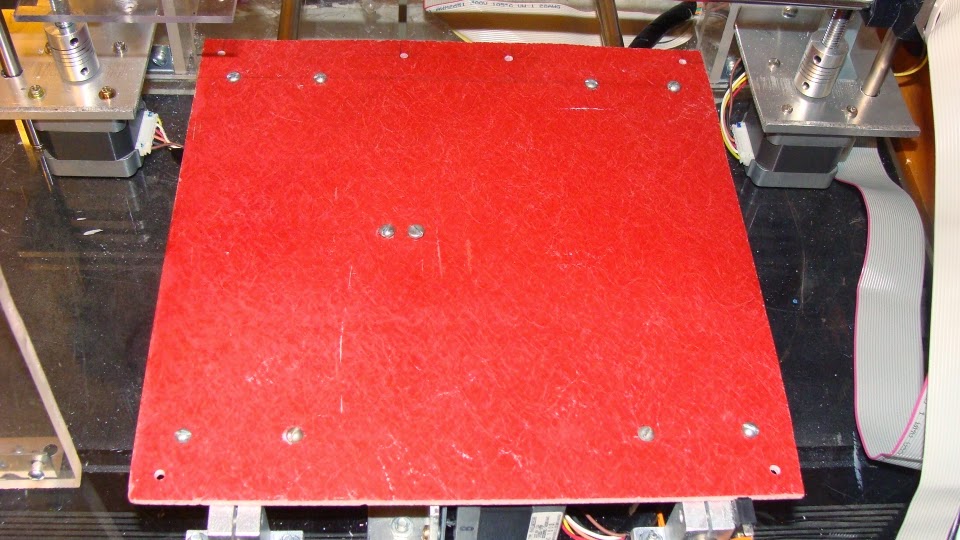
Here it is printing out a Mendel90 X axis motor end.  I am working on printing out all the parts of the Mendel90 3D printer.


I used some packaging strap to hold the ribbon cable up.

This is a picture of my new extruder's hot end.  I need to mount the fan to something but it has survived hanging from the wires for quite a while.  Here is a link to a video showing it in operation. http://youtu.be/MVh2b1nGNW8?list=UU49j5FVUO2KIFyH2IXmGXjg

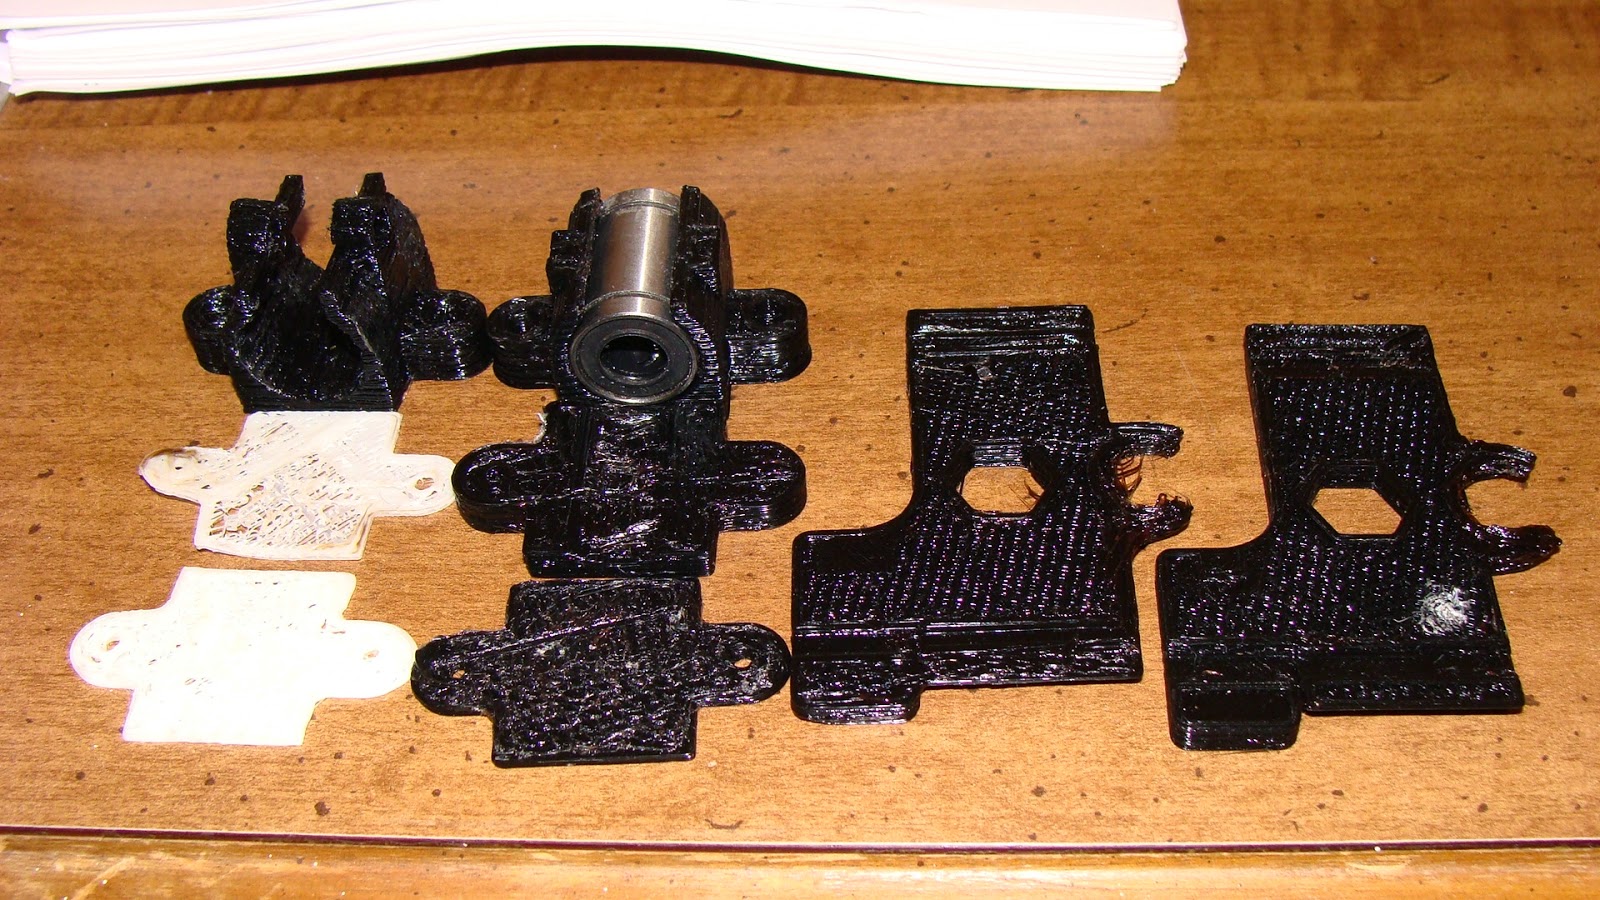
Here is my growing collection of "Bricks".  Things that did not turn out like they were supposed to.  I have made far too many bricks, so now I built the new extruder and hot end.

Here is a link to my latest video.
http://youtu.be/nLawLOgIe3Y?list=UU49j5FVUO2KIFyH2IXmGXjg

Monday, November 17, 2014

Crown XTi 1000 power amplifier repair

Over the weekend I dissembled and repaired a Crown XTi-1000 amplifier.  The problem was caused by bad connections on a bridge rectifier located in the power supply section.

This is a close up of the bad connections.  The leads needed to be cleaned and re-soldered.

This is the corner of the board where the problem is found.

This is what the amplifier looks like with the cover removed.  You need to remove the front, then all the screws on the back, then all of the screws holding the board in place.  There are four screws holding the heat-sinks in place that are under the foam.


Tuesday, November 11, 2014

Chevy Cobalt Replacing the front door speakers

One of the first things I do when I buy something used is to make a list of things to repair.  On the car it is something like this:
1. Prime
2. Paint
3. Undercoat
4. Door locks stick
5. Snow tires
6. Front Speakers
7. Do Spider Spikes fit?

So far 1, 2, and 5 are fixed.  When it comes to the front speakers Pioneer actually makes speakers that fit.  You can also buy an adapter that will allow you to use any 6.5 inch speaker if you want.  The wiring adapter is not needed.  Just tin the wires and they will fit tightly into the jack that was connected to the old speaker.

The new speakers come with clips that need to be installed first as seen in the picture below.

To install the speaker first remove or pry out the door cover near the speaker.  There are three screws behind plastic snap in covers that you will need to remove to take the inside door cover off.  Remove one screw and the old speaker comes out.  Connect the wires for the new speaker.  The wires can be taped in place with electrical tape.

Put one side of the new speaker in and then rotate it up and down to catch the two clips on the opposite side.  Tighten up the screws.  Use duct tape to fill the gaps above and below the new speaker to block road noise.

You are done!  It only takes ten minutes to do.  Turn on the radio and make sure that the new speakers work.

Now I can actually hear the turn signals, as the sound comes through the speakers.  Hopefully the warning that the headlights were left on will work too.


Thursday, November 6, 2014

My New(er) car - a 2007 Chevy Cobalt

After 20 years of driving vans, I have made a drastic change.  I drive 45 miles to work every day and the cost of gas for the van was running around $5000 a year.  So I have bought a car that should get me about twice the gas mileage and save me the cost of the car every two years.  These pictures were taken right after I touched up the paint.  There were some rust spots on the fender around the rear tires.


So far the Cobalt is getting me around 34 MPG according to the built in mileage calculator.  I hope to make some minor changes to get that up to 40 MPG.