Note that my design is quite different. For one thing all 4 LED frames are easily removed for servicing. So far I have had one bad LED and a soldering connection that needed fixing. I also need to replace one LED that has a slightly different color. It is the third one up from the bottom in the center.
My 4x4x4 LED cube is also designed to be expanded to 4x4x5 or 6 as adding them will not require any more IC's. Also when you order LED's they come in bags of 100 so why not use all of them? There are currently two 74HC595's and a ULN2003 driving it.
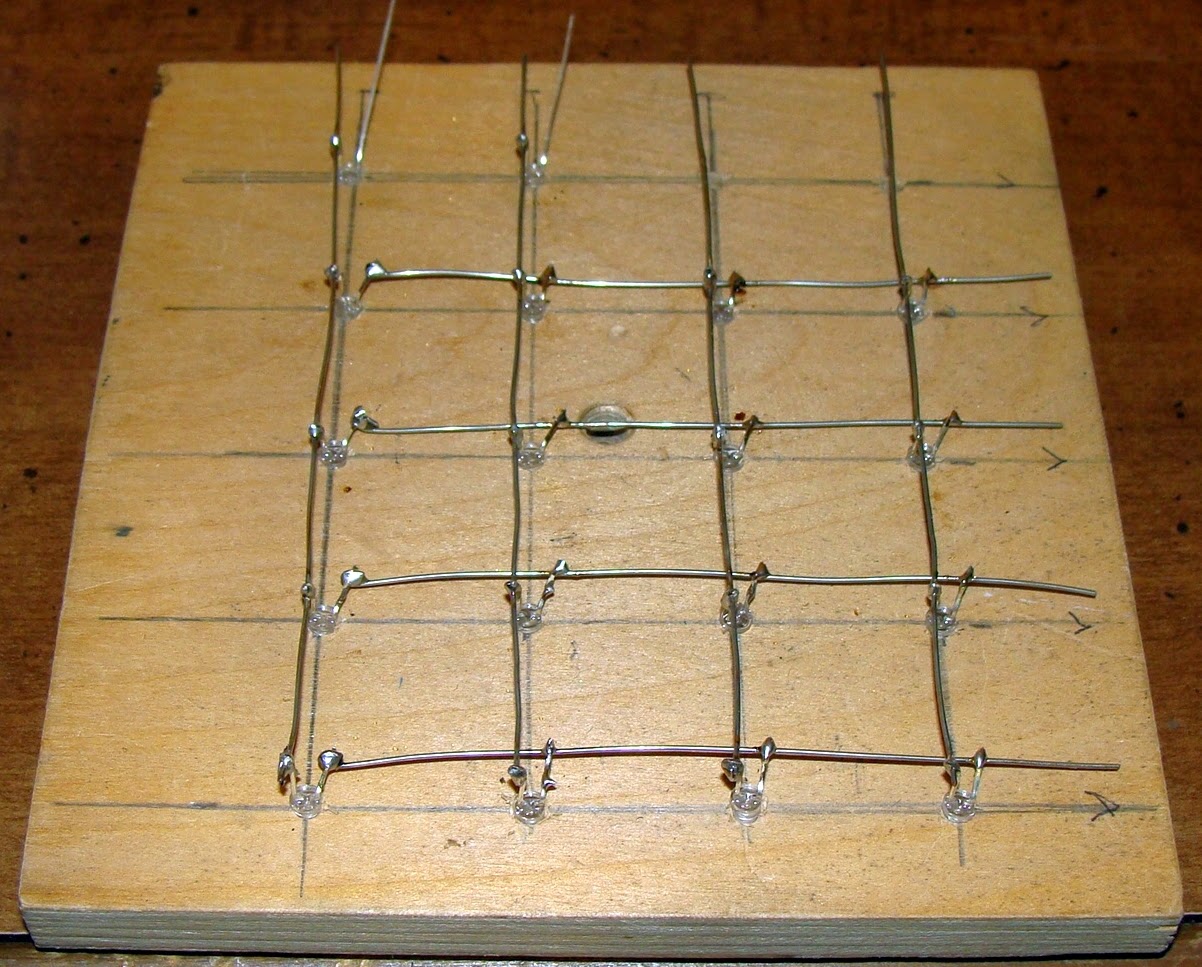
I drilled a wood guide and rebuilt the arrays so they are right to left instead of front to back. I also added the fifth row while I was at it. I broke a couple of LED's in the process but it is up and running again.
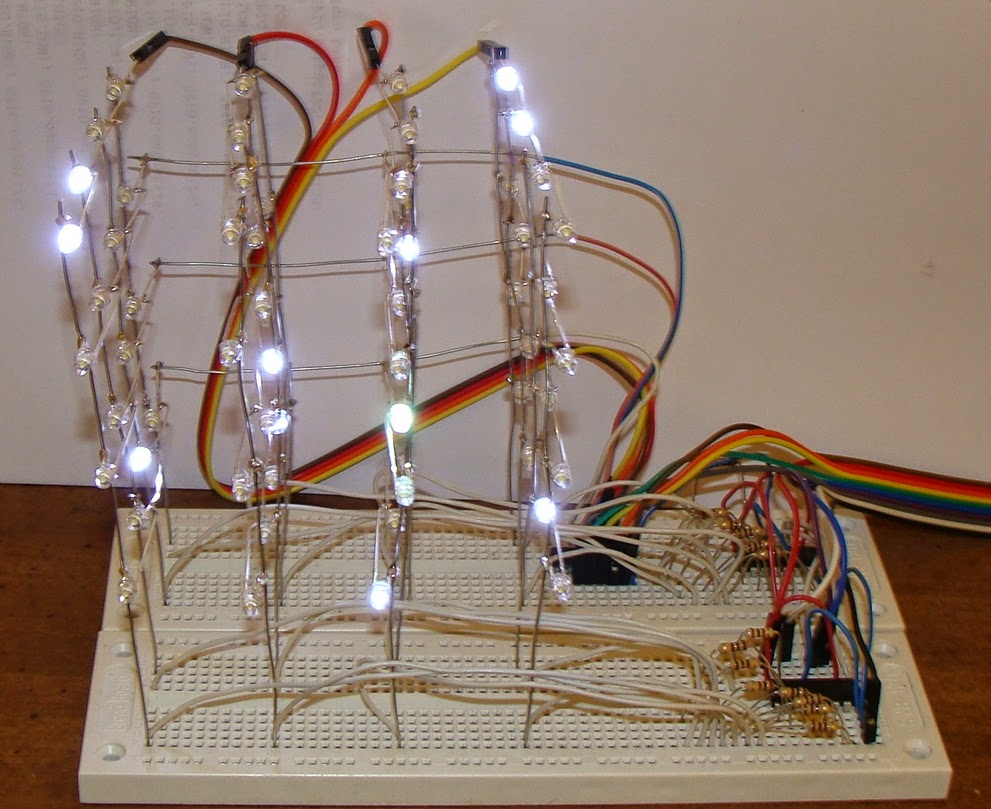
Here is a picture of the LED test program running to make sure everything works. I need to replace a bad LED and find a way to keep the LED arrays parallel to each other. I might give in and add some wire braces across the top corners. The braces could be un-soldered to work on the arrays if needed.

Here is the video on Youtube.