One of the issues so far is that the PRUSA i3 uses a 5 mm threaded rods for its lead-screws. I wish that there was a 8 mm compatible version available. I have found a alternate X axis end design that I can print out that does support 8 mm lead-screws. Here is a link to the upgrade: http://www.thingiverse.com/thing:1140733. The other option is to purchase the all metal X axis for the Geeetech i3 printer. I am also making a normal PRUSA i3 printer to verify that all of the parts are interchangeable with my design.
This is what the rebuilt 3D printer looks like so far:

Here is a progress report picture on rebuilding the 3D printer.

It now has the Y platform installed and the Arduino is in place as well.

This picture shows the wiring (mess).

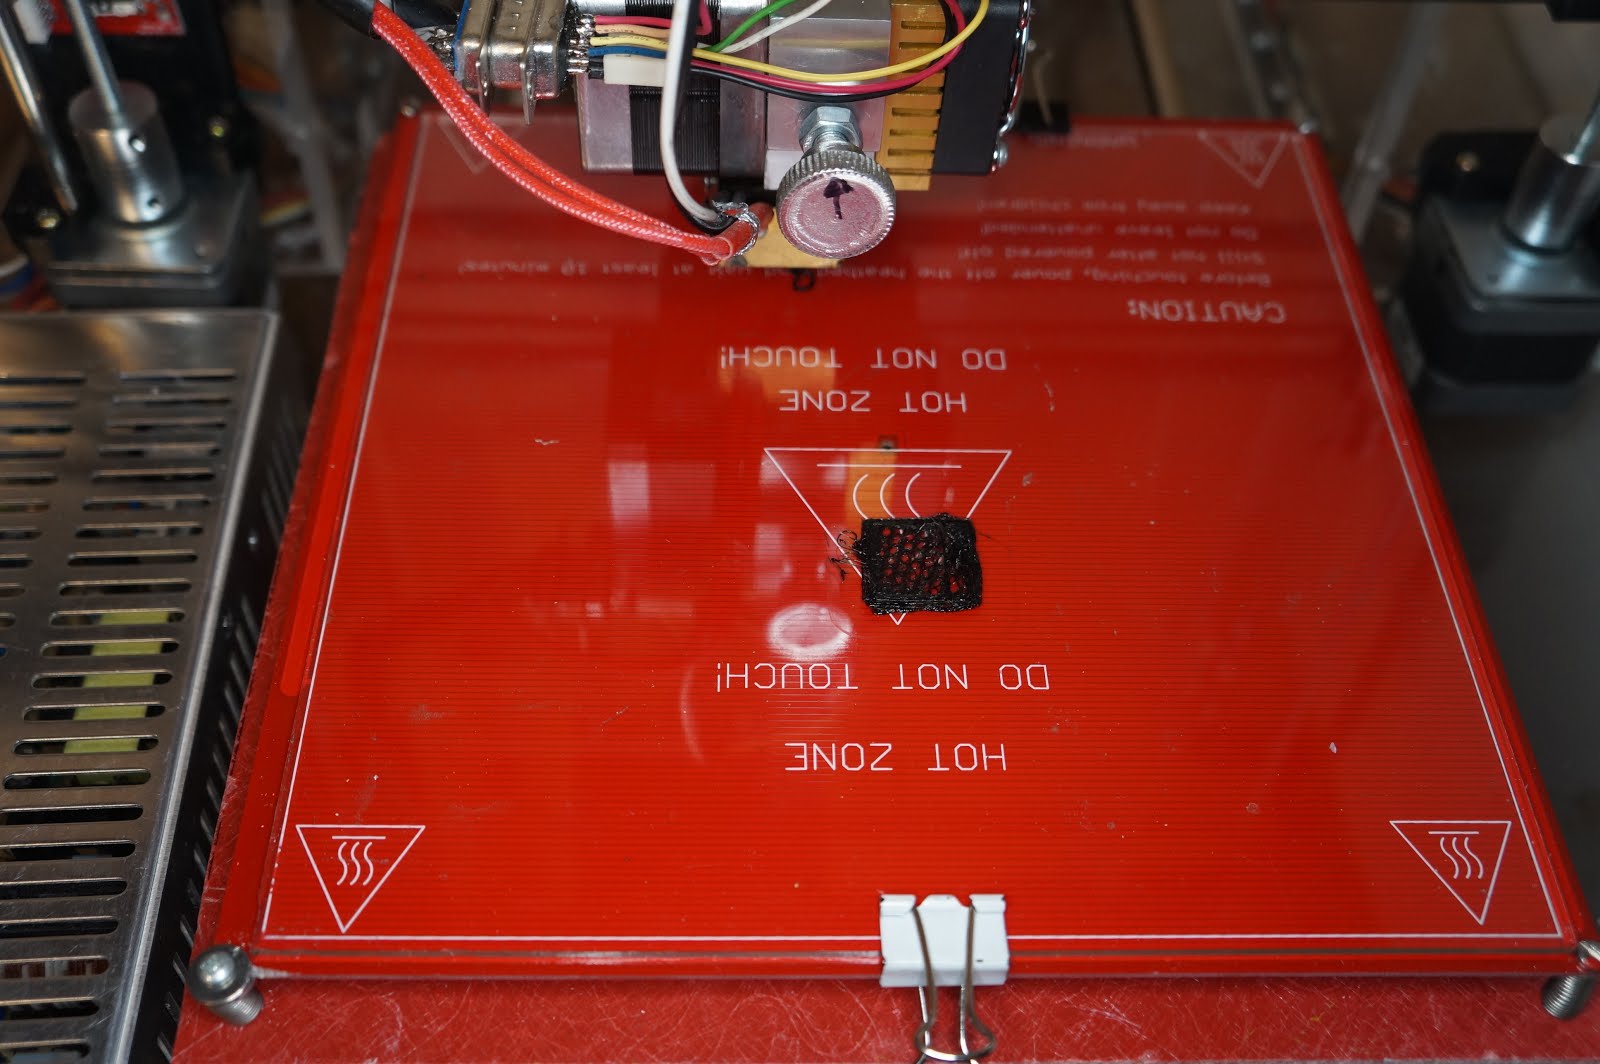
Here is the results of the first test run. The X axis belt skipped and caused it to print in the air after a few passes.
There were some more failures before I changed the extruder and fixed a wiring problem.

After a couple of calibrations it is now working.
This is what the finished elephant looks like. My Z axis was off (3333 vs 4000) so it is shorter that it should have been.

To verify compatibility I am also building a PRUSA i3. Here is the frame with the printed parts.

Then I switched to my home made metal parts. I need to cut the Z axis shafts off so they are shorter.

I spray painted the frame with about 4 coats of gloss black paint. It looks a lot better now.

I have added a Geeetech i3 all metal X axis to the Prusa i3 frame! The secret is the home made motor mounts.

This is what the completed GeeeTech i3 all metal 3D printer on a PRUSA frame looks like.

This is the electronics for that 3D printer.


